
 |
| Level 1-10 |
General Information
- The Submarine is an aquatic support structure similar to the Gunboat and Landing Craft.

- It can be sent on missions for deep sea treasure at dive locations (yellow buoys with red flags. See image to the right) to uncover large amounts of Resources, Power Stones, and diamonds.
- Every dive costs a certain amount of gold.
- The deeper the treasure, the longer and costlier it is to dive. However, the rewards are significantly better as well.
- To uncover dive locations, a level 5 Radar is required.
- Over time, you will use up your dives, and your number of dive locations will diminish. They will respawn, however.
- First of all, dive locations will not respawn until you have two or fewer on your map. The fewer dive locations you have on your map, the more likely it is that a new dive location will appear.
- Every so often after you have two or less dive locations, your game will "roll the dice" to see if one of your dive locations will respawn. This chance is relatively low, however, and it may take several days for a new dive location to appear if you are unlucky.
- It is good to note that, to find dive locations that generally have a higher maximum dive depth you will need to discover a dive location that is further from your home base. However, a high maximum dive depth does not guarantee that the deepest dive will be close to the maximum dive depth; it merely allows a possible dive that is deep.
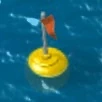


Icon when a Dive Location is found.
- A dive can give any of the following as one of its three rewards:
- Wood
- Stone
- Iron
- Power Stones of any size or element
- Diamonds
- Often, one or more of the treasure slots are marked with three question marks. This means that the treasure in that slot can be any of the above treasures; it just remains unknown until the dive finishes. These mystery slots are, however, the only way to get Prototype Modules from a dive (they have a chance of being Prototype Modules only if you have already built the Weapon Lab).
- Any treasure that your Submarine brings back remains in the Submarine until you collect it. Similarly to Resource Boats, no treasure can be stolen from the Submarine by attackers.
- Note that you cannot start another dive until the treasure in the Submarine has been collected.
- If the Submarine is diving, you can tap on that dive location to see what it is diving for, but you will not be able to see what other dives are available at that spot.
- New dives cannot be started while the Submarine is upgrading.
- It is possible to upgrade your Submarine while it contains treasure. Simply move any building to the outside zone where it can't be placed. Then, tap on the Submarine and it will show the upgrade icon. The treasure will still be in the Sub when the upgrade finishes. However, you cannot claim your reward while upgrading the Sub.
Upgrade Differences
- The Submarine is the only aquatic building in the game with no visual upgrade differences.
- At all levels, the Submarine is a bright yellow marine craft with black highlights and windows, covered with metal plates. There is a large dome glass window at the front of the craft, and a smaller one on top. There is a hatch at the top, and silver rails on both sides, with a propeller on the back. Buoyant floats are also attached at the bottom of the submarine.
- Each level increases the maximum depth that it can dive by 100 m.
Trivia
- The time the Submarine takes to dive is one of the few timers in the game that cannot be finished instantly by diamonds. This is because Supercell does not want people to be able to purchase Power Stones in any way.
- The yellow color of the submarine may be a reference to the Beatles' song "Yellow Submarine".
- There's an achievement which is called Submariner that gives a total of 60 diamonds upon diving for treasure 500 times.
- The northern part of the Archipelago is filled with Ice Islands. Dive locations in this area are highly likely to give Ice Power Stones.
Statistics
| HQ Level | 1 | 2 | 3 | 4 | 5 | 6 | 7 | 8 | 9 | 10 | 11 | 12 | 13 | 14 | 15 | 16 | 17 | 18 | 19 | 20 | 21 | 22 | 23 | 24 | 25 |
|---|---|---|---|---|---|---|---|---|---|---|---|---|---|---|---|---|---|---|---|---|---|---|---|---|---|
| Number Available | 0 | 0 | 0 | 0 | 0 | 0 | 0 | 0 | 1 | 1 | 1 | 1 | 1 | 1 | 1 | 1 | 1 | 1 | 1 | 1 | 1 | 1 | 1 | 1 | 1 |
| Level |
Max Dive Depth |
Upgrade Cost | Upgrade Time |
Instant |
Headquarters Level Required |
XP Gain | ||
|---|---|---|---|---|---|---|---|---|
| Wood
|
Stone
|
Iron
| ||||||
| 1 | 600 | 50,000 | 12,000 | 3,200 | 2h | 184 | 9 | 1 |
| 2 | 700 | 57,000 | 13,500 | 3,600 | 3h 15m | 217 | 9 | 1 |
| 3 | 800 | 99,000 | 24,800 | 8,000 | 5h | 326 | 10 | 8 |
| 4 | 900 | 134,000 | 49,000 | 14,000 | 6h | 422 | 11 | 12 |
| 5 | 1,000 | 201,000 | 95,000 | 24,800 | 7h | 573 | 12 | 14 |
| 6 | 1,100 | 284,000 | 171,000 | 49,000 | 8h | 754 | 13 | 15 |
| 7 | 1,200 | 390,000 | 340,000 | 95,000 | 10h | 1,042 | 14 | 17 |
| 8 | 1,300 | 670,000 | 510,000 | 187,000 | 12h | 1,435 | 15 | 20 |
| 9 | 1,400 | 950,000 | 850,000 | 370,000 | 13h | 1,936 | 16 | 23 |
| 10 | 1,500 | 1,350,000 | 1,110,000 | 700,000 | 14h | 2,517 | 17 | 26 |
| Dive Locations | |||
|---|---|---|---|
| Radar Level Required |
Cost to Uncover Region |
Maximum Possible Depth | |
| 1 | 5 | 14,000 | 700 m |
| 2 | 7 | 34,000 | 700 m |
| 3 | 8 | 100,000 | 700 m |
| 4 | 9 | 170,000 | 700 m |
| 5 | 9 | 220,000 | 700 m |
| 6 | 10 | 190,000 | 800 m |
| 7 | 11 | 180,000 | 900 m |
| 8 | 12 | 330,000 | 1,000 m |
| 9 | 13 | 600,000 | 1,100 m |
| 10 | 14 | 600,000 | 1,200 m |
| 11 | 15 | 800,000 | 1,300 m |
| 12 | 16 | 1,100,000 | 1,400 m |
| 13 | 17 | 1,800,000 | 1,500 m |
| 14 | 18 | 2,000,000 | 1,500 m |
| 15 | 19 | 2,400,000 | 1,500 m |
| 16 | 20 | 2,000,000 | 1,500 m |
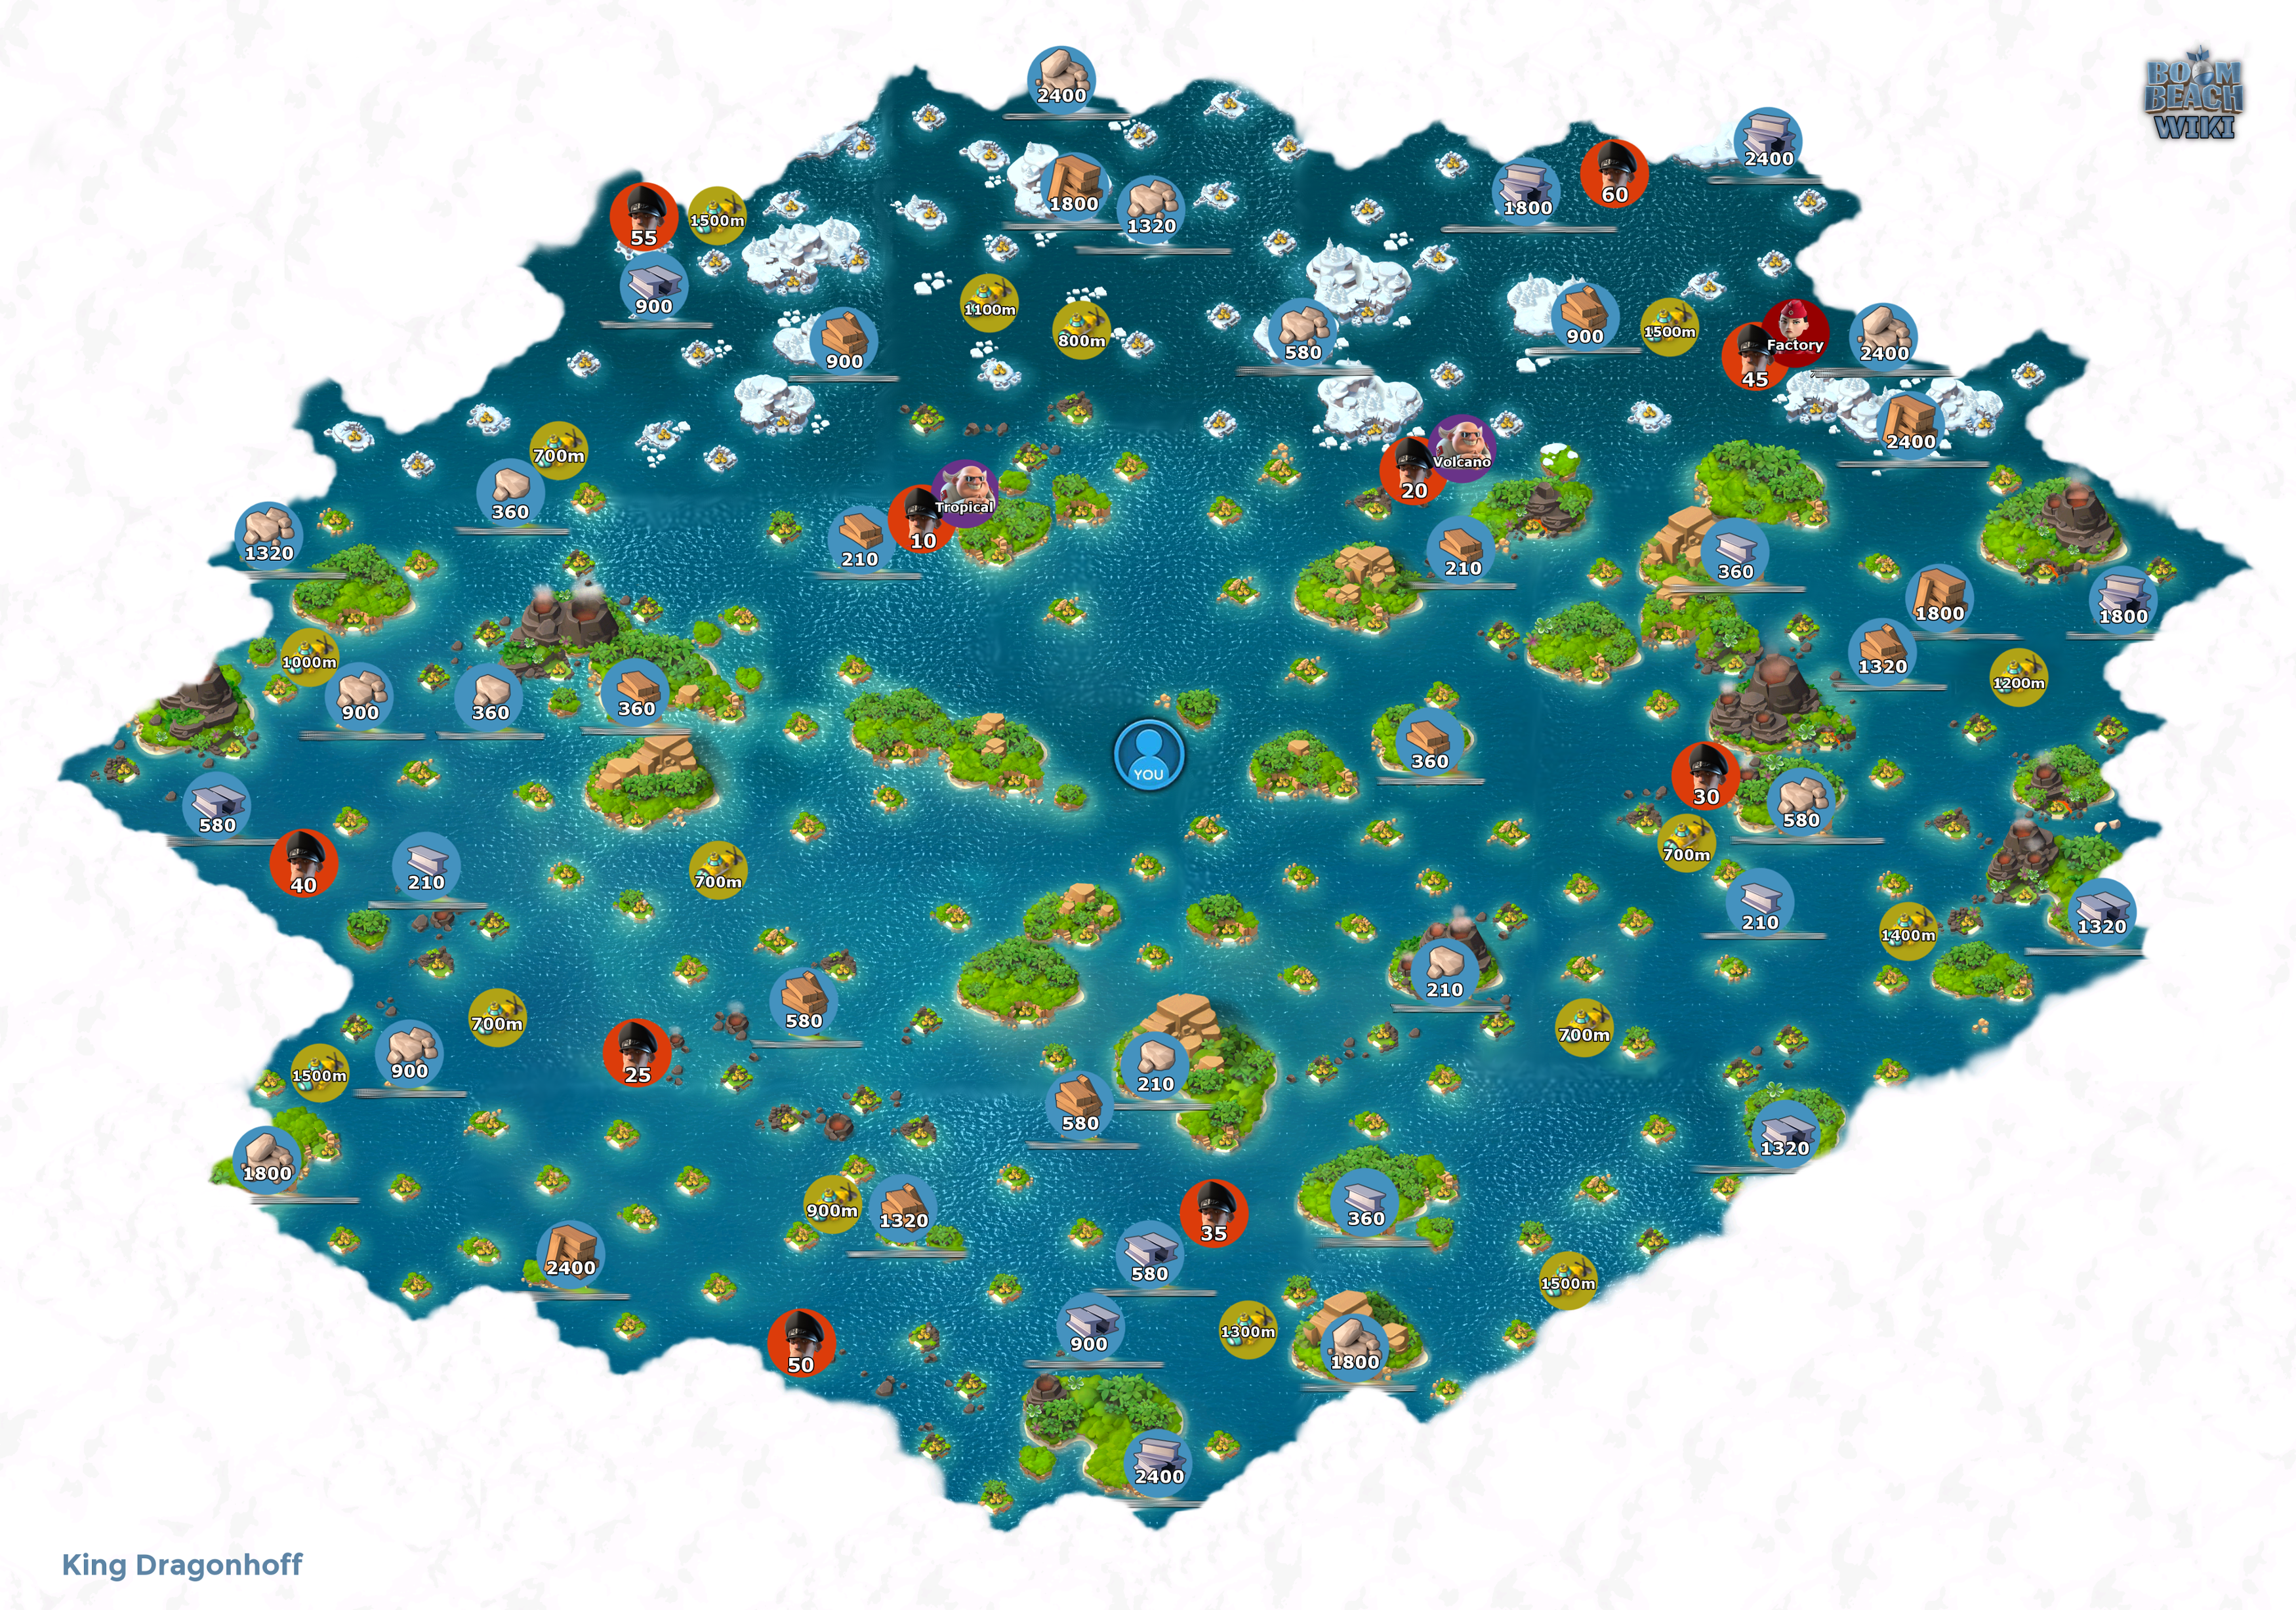
Map of the Archipelago with all Dive Spot Locations
View the full-size image here